
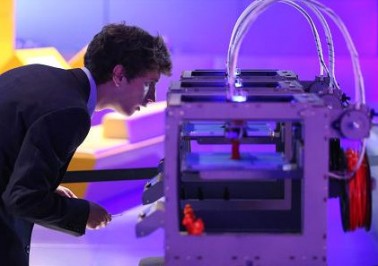
When 3D printing hit its stride from a popularity perspective a few years back one of the more regular complaints was that all you could do with the technology is make little trinkets like plastic Yodas and immitation phone cases. But just like how Rome wasn’t built in a day, neither was the ever growing library of products you can produce with desktop 3D printers and a little sprinkle of the maker spirit.
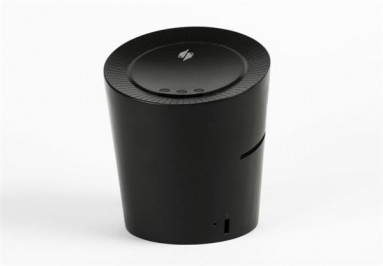
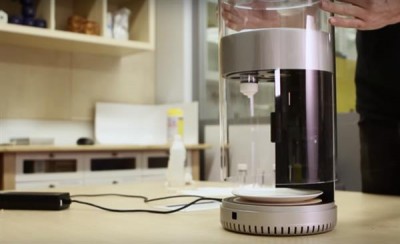
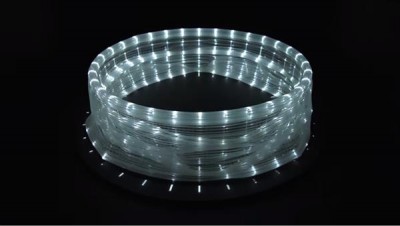
Case in point is a recent instructables that demonstrates how easily it is to produce a very sleek looking 3D printed wireless charging lantern with nothing more than your standard array of printed parts, some low-cost electronics and a battery.
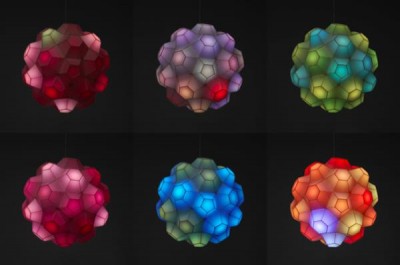
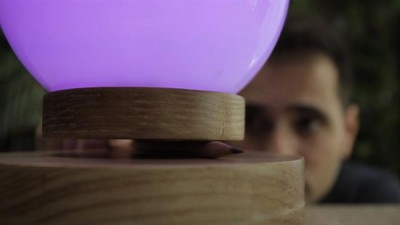
The brainchild of Jonathan Odom, designer at the Instructables Design Studio, this portable lantern gets its energy via a wireless charging station and illuminates its surroundings using a 3.7v 2000mAh LED light. The design is part of a recent wireless charging trend, has a sleek looking form usually only found in the trendiest of trendy product catalogues around the world.
By using Autodesk’s Fusion 360 to create the case files, Jonathan was able experiment with a few ideas before settling on what he called “a more regular, modified cube design where the lens is basically three sides of the cube’s sides.” And as with many 3D print influenced projects on the site, all of the model files are free to download and can be 3D printed on any half-way decent desktop 3D printer with a x/y build area of 5” (127mm) or larger.
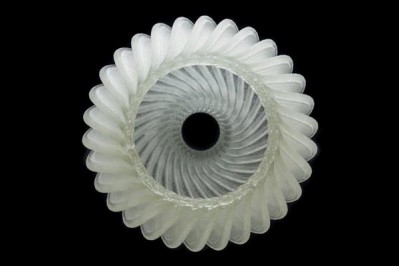
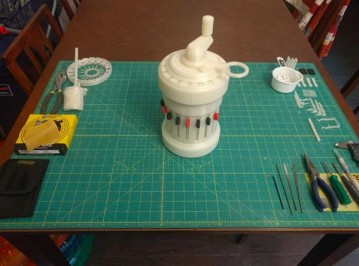
From a materials perspective, he used a wood-fill filament for the housing and a translucent PLA for the lens itself. And while ABS could very well have been used instead of the wood fill as a common alternative, PLA was perfect for the lens as translucent ABS isn’t really an option. Interestingly enough, a portion of the tutorial stressed how important it was to 3D print the lens at the below orientation.

At a quick glance, 3D printing in this orientation seems impractical due to the extra support material needed to produce the part but what he found was that the layers of the lens became concentric around the corner, and ultimately created a more uniform, vibrant look.
After 3D printing was complete (a good 24 hours from my rough estimate) and the remaining electronics, wires, switches, batteries, and wireless transmitters were sourced all that was left to do was assemble the thing.

From the looks of it, while some soldering knowledge as well as a basic understanding of how electronics function is necessary, it doesn’t look like an incredibly difficult project to undertake. If you prepare properly by gathering the roughly $75 worth of parts (plus a few dollars of 3D printer filament) before setting off on putting everything together, you can probably have yourself a lamp within a 5-6 hour build session.
To me this is a project I’m actually very keen on moving forward with myself. I mean, it was only a few years ago that wireless charging was a thing for science fiction fans to dream about and here we are 3D printing many of the integral components to make one for ourselves. So next time someone says all you can make with 3D printers is little plastic Yodas and cheap little trinkets feel free to reply with a smug little “oh really?”


